| |
- Follow the same instructions as for Fast mag0.
|
| |
- After a parameter change, wait until a new third of a scan begins before setting new
parameters and resizing the zoom box.
|
NOTE: Setting the slow linearities requires a lot of time.
| |
- Move the resized box to the end of the scan and prepare to measure the end promptly.
|
NOTE: You may type in a new parameter value before the scan starts again.
NOTE: Be careful not to confuse scan top and bottom with beginning and ending, as
the scan direction alternates.
| |
- Adjust the zoom box to fit the beginning third of the scan and check against the end third.
|
| |
- If the features of the end third are too large for the box, decrease the parameter. If the
features are too small, increase the parameter.
|
NOTE: Compare only parts of the current scan, not the previous scan.

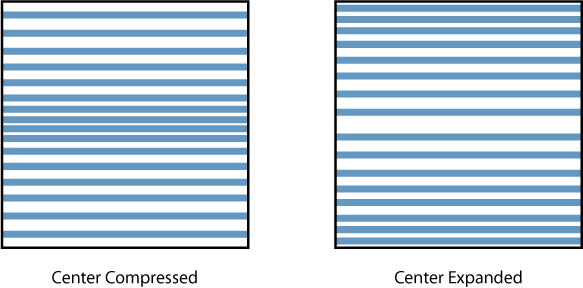
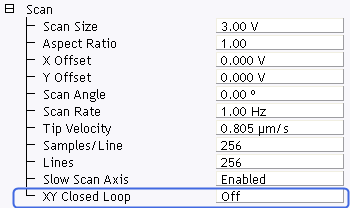
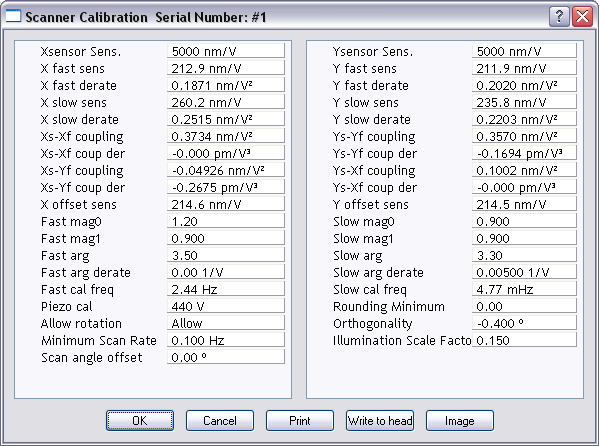
 feedback. However, if you are running applications in Open Loop
 that demand good linearity, the following procedure can be used to optimize the
linearity correction parameters for individual scanners. As discussed previously, linearity
correction is especially important for long-range scanners.
 Adjust Fast Mag0


